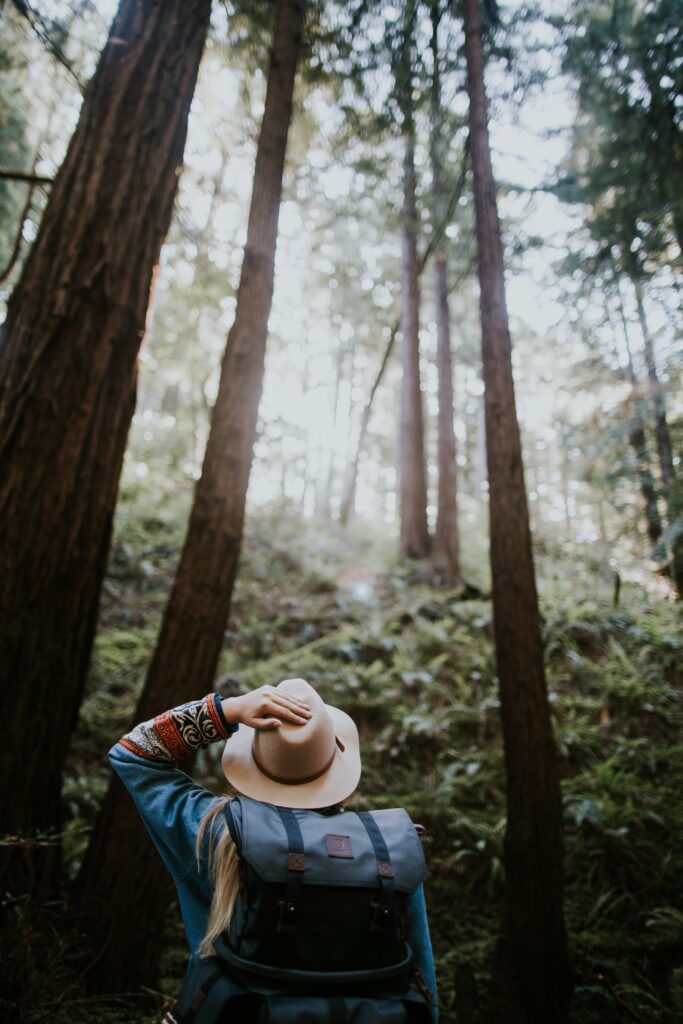
With the warm weather upon us, it’s the perfect time to go outside and enjoy the sun! Whether for a pleasant stroll in the park or a trip down on the boat, I’m sure we all are yearning for some outdoor adventures. Vancouver is regarded as one of the most scenic and beautiful cities in Canada, so of course, hiking is a very popular activity amongst tourists and locals. Hiking is not only a therapeutic experience that allows you to connect with nature, but it’s also great for your body. Hiking can increase your cardiovascular health, increase bone density, tone your lower body, and can even ease joint pain! If you’re feeling down, hiking in nature can unplug us from technology and social media, reducing stress and improving our mental health and well-being. Or maybe you just enjoy the challenge of hiking up extreme trails!
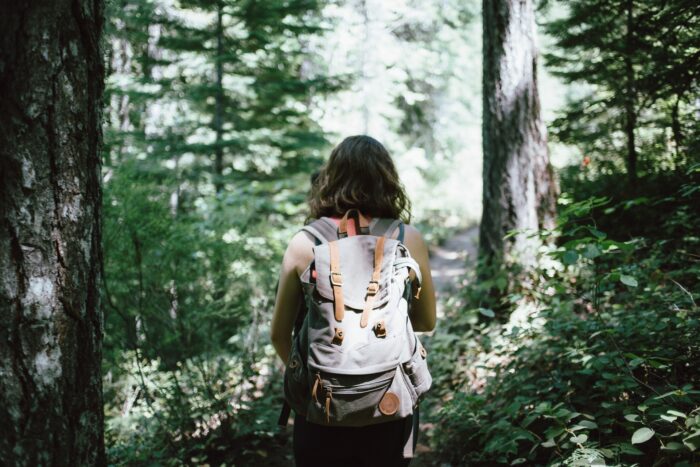
Below are our best of hiking tips to ensure you enjoy the wonders of nature while also staying safe and healthy.
How to choose an appropriate hiking route
You might have friends that hike frequently and recommend many trails for you. But are they right trails that suit you?
Everyone has different experiences with hiking. This might be your first time planning a hike, or maybe this is a familiar one that you’ve done before. Regardless, you should always research the hiking trail before choosing it.
Ask yourself the following questions when choosing a route:
How much time do you have?
Do you want a short hike or an all-day hike? For beginners, we recommend trailers that are 2 hours or less, and marked as “easy to moderate.” Keep in mind everyone moves at different paces so what is an hour to a power walker on a flat trail, will be different to someone that moseys and takes photos on more rugged terrain.
What is your fitness level?
Be honest, you want to enjoy the hike not suffer! If your experienced hiker friends share a similar fitness level (maybe they play on your hockey team or your best frenemy at tennis), what may set you apart is skill dealing with terrain, even though your hearts and legs are of the same fitness level. However if your marathoner-brother-in-law is asking you to join him on a 4 hour hike, and your hobbies don’t include the great outdoors…take that into consideration. Better to err on the side of “well that was too easy” than “that was awful I’m never doing that again!”
What is the elevation?
The elevation of the hike is one factor that determines the difficulty. If you’re a local, you know the Grouse Grind is a pretty intense hike. It’s elevation gain is approximately 800m over a 2.5km distance. So if doing the Grouse Grind is something you’re comfortable with and experienced doing, elevation gains like this over a short distance aren’t too bad. Compare that with Lynn Valley Loop, which has a 160m elevation gain over 5.1km, you can see how this hike would be much less of a cardio challenge.
Logistics?
Are the start and end points the same? Hikes generally fall into one of 3 (4ish) categories.
-
- Start in one location and end in another. For these, you’ll want to figure out how you’re getting back to your car or if transit / uber is accessible to both the start and stop location. These are less popular because of the planning needed
- Single trail, out and back. Dog Mountain on Seymour is a good example of a single track hike. These can be popular if you’re concerned about getting lost, look for well marked trails (usually a brightly coloured tag nailed into a tree trunk), and the nice thing is you’ll usually meet people going in the opposite direction, so you know you haven’t wandered too far off the path!
- Lollipop route – when seen from above, these have a single trail in and out, but a loop (kinda looks like a lollipop) at one end. A good way to start getting comfortable with looking for markers and signs pointing you to “view” or “parking lot” or “X lake”
- Loop – This is pretty much what it sounds like, travellers may have the option of heading “left or right.” If you can read up on the hike, some websites allow people to share comments on the hike and you may see advice saying “go left, it’s nicer” and can decide if you’d like to follow their tip or not
Bring the Ten Essentials for hiking
Have you heard of the Ten Essentials?
The Ten Essentials are a list of items that help hikers be prepared for emergency situations in the outdoors. Although you may only use a few of these items during your hike, these items are essential to your survival if something were to go awry.
The original Ten Essentials list was created in the 1930s by The Mountaineers. This list included a compass, map, sunscreen, clothing, and more. However, over the years this list has changed to a “system” approach, which helps you determine what you should bring depending on the hike.
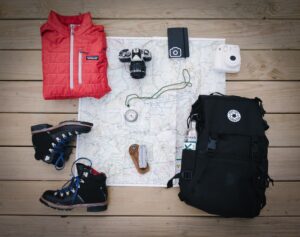
Here are the updated Ten Essentials systems:
- Navigation (map, compass, GPS)
- Headlamp (including batteries)
- Sun protection (sunscreen, sun-protective clothes)
- First aid (includes insect repellent and foot care)
- Knife
- Fire (matches, lighter, tinder)
- Shelter
- Extra food
- Extra water
- Extra clothes
Learn more about the Ten Essentials here: https://www.rei.com/learn/expert-advice/ten-essentials.html
Wear the proper clothes and shoes for your hike
You might be tempted to check the weather, throw on whatever you have to go hiking, but wearing the appropriate clothing can help keep you comfortable throughout your hike. You don’t need to worry about expensive, special gear on a beginner hike, but proper clothing is vital.
While we’ve certainly seen it before, we strongly recommend to NOT wear jeans on a hike. Denim jeans absorb moisture, which can leave you feeling extra sweaty and wet. Be sure to wear comfortable, flexible pants that allow you to move freely to transverse the terrain.
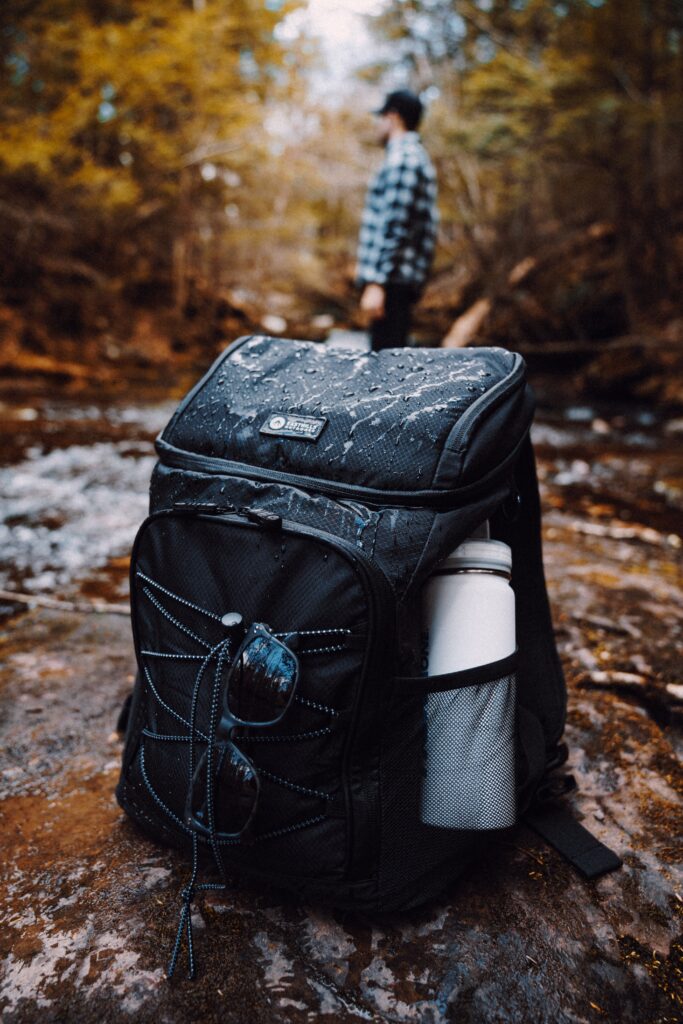
Shoes can make or break a hike. Wearing improper footwear can increase the risk of sprained ankles and other debilitating injuries. Wear sturdy, well-fitting shoes or hiking sandals (if your hike takes you along beaches and shores, better yet, pack them with you if your trail has both beach and forest sections). These shoes should provide support, traction on any surface, and protection from rocks and roots.
For your upper body, opt for a moisture-wicking athletic top (made of nylon or polyester) that will keep you cool and dry. Wicking is a fabric’s ability to pull moisture away from you and to the outer surface where it can dry. This is very important as a base layer of clothing, as it will let you sweat without feeling chilled or clammy.
Layering is your best friend! Even in the summer, the temperature on trails can drop drastically in the evening. Layer in this order: moisture-wicking base against your skin, insulating mid-layer, waterproof outer shell. Be sure to check the weather forecast before heading on your hike, so you can dress accordingly.
Do I need to pack food and water for the hike?
The answer to this question will depend on many factors. Just like any exercise or activity, it’s always smart to bring water to replenish body fluids lost through sweat and evaporation on hot days. Sometimes even if it doesn’t feel hot, we still recommend water! How much water to pack, depends on the length of the hike (1-2 hours, maybe a standard 8oz might suffice. Bringing more won’t hurt, and while it will be more to carry, you can easily find popular water bottles that carry up to 24oz, 42oz and 56 oz….and in fancy colours too.
As for food, shorter hikes might only require some trail mix or a ziploc container with fruit and veggie slices. Hikes that span 2-4 hours, sometimes it’s nice to pack lunch (a sandwich, leftovers, fruit and veggies). You don’t have to eat it all, but if you’re feeling peckish, it’s nice to have accessible. Remember to pack out your scraps too, resist the urge to toss your orange peel into the bushes or let the wrapper blow away. Definitely do not feed the animals. Yes, they’re cute, and yes, other people are doing it, but it will keep everyone safer if you don’t feed the wildlife. Nature and your other trail hikers will thank you.
Pace yourself and enjoy the hike
Opportunities to bask in the sunlight and be in nature are hard to come by, so why rush the experience? Beginners unfamiliar with the concept of pacing can sometimes start their hike at a really fast pace, which will drain their energy and leave them exhausted. Slow down and pace yourself to conserve energy. If you’ve done the research and know how long the trail should take, use that as your gauge. Take your time to find a comfortable pace.
If you’re hiking with a group, it’s best practice to stick with the group pace and not wander off. Know where the group is at all times and navigate trails together. If you’re stopping to take pictures or video, let someone know, or pair up, so you don’t accidentally get left behind. If the group is on a schedule (maybe shared transportation was arranged), determine the goal and pace of your fellow hikers, ask if there is lots of times for water breaks, nature (or selfie) photo ops etc. so everyone can arrive and depart at the same time.
Take this time to soak in nature, slow down and enjoy the tranquility nature has to offer. Who knows, you might spot some wildlife or find a beautiful view. A trend we’ve noticed recently is people playing music on external speakers, while hiking. Sure, music played at parks or beaches may have become a “thing” but see if you can enjoy each other’s company, birds singing, the sound of wind through the trees without the aid of a device, we think you’ll all have a better experience this way.
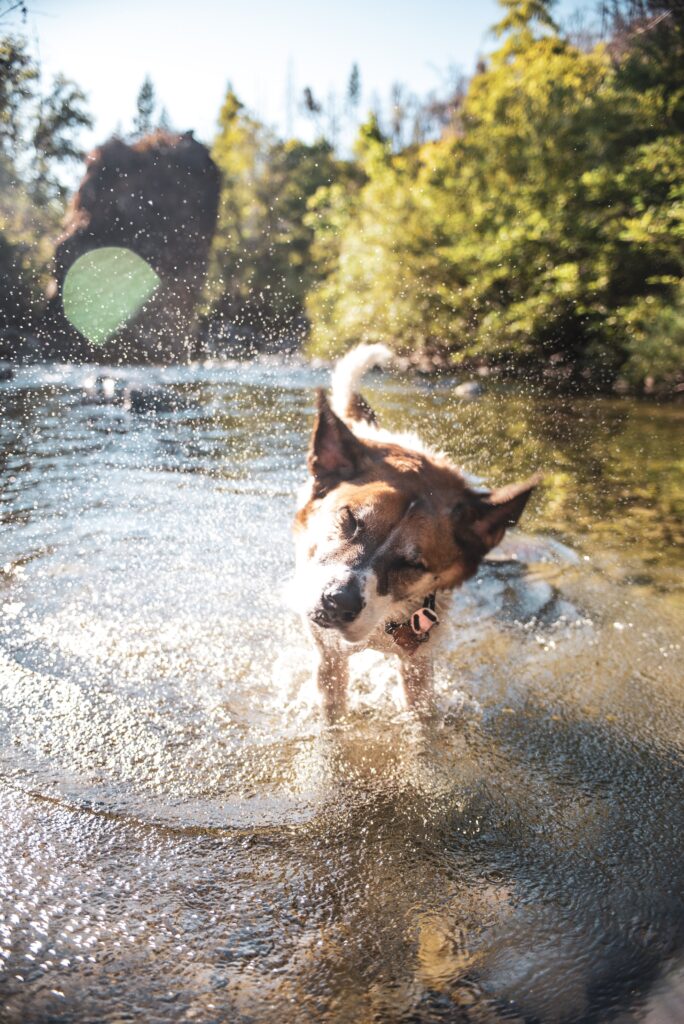
Thinking of hiking with your dog? Check out this link if you both want to get started on the local trails.
We hope you enjoy your hike, so get out there, be safe and tell us all about your adventures when you’re back!
Author: Courtney Knowler


